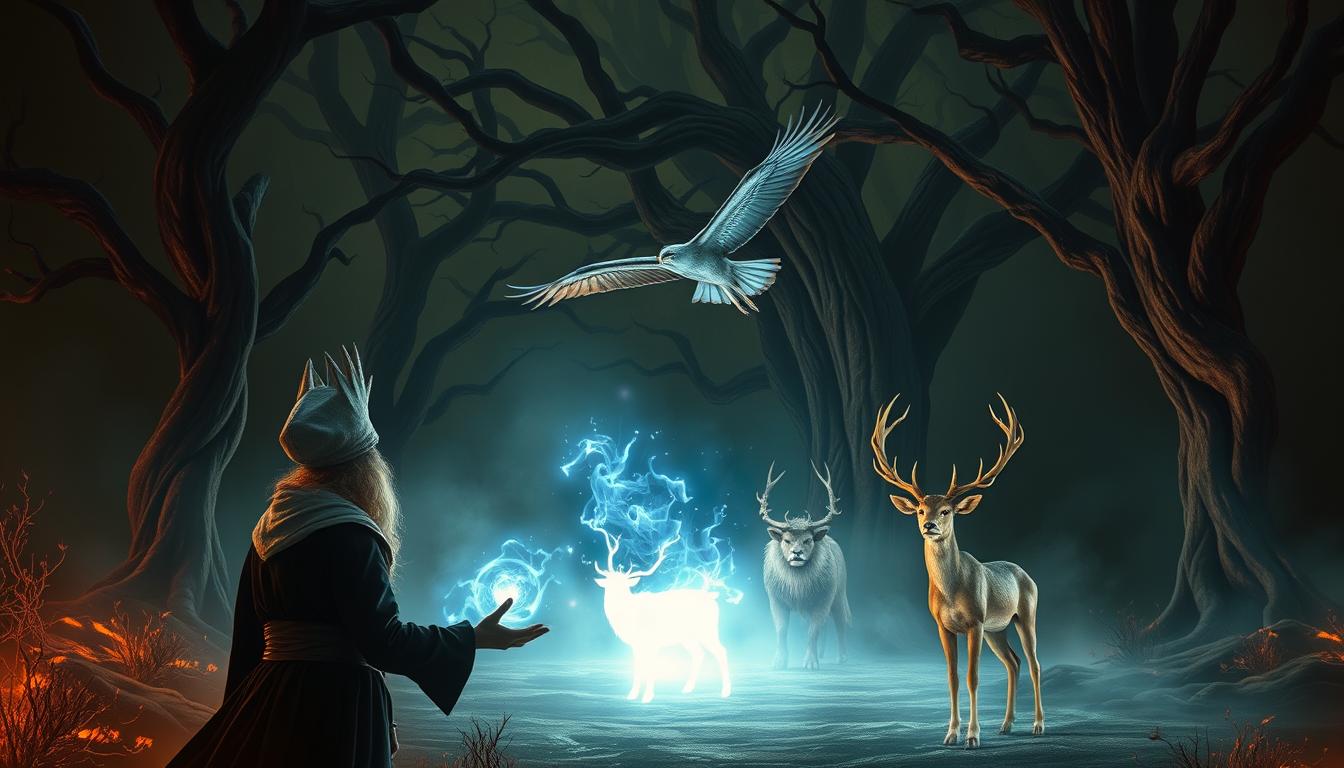
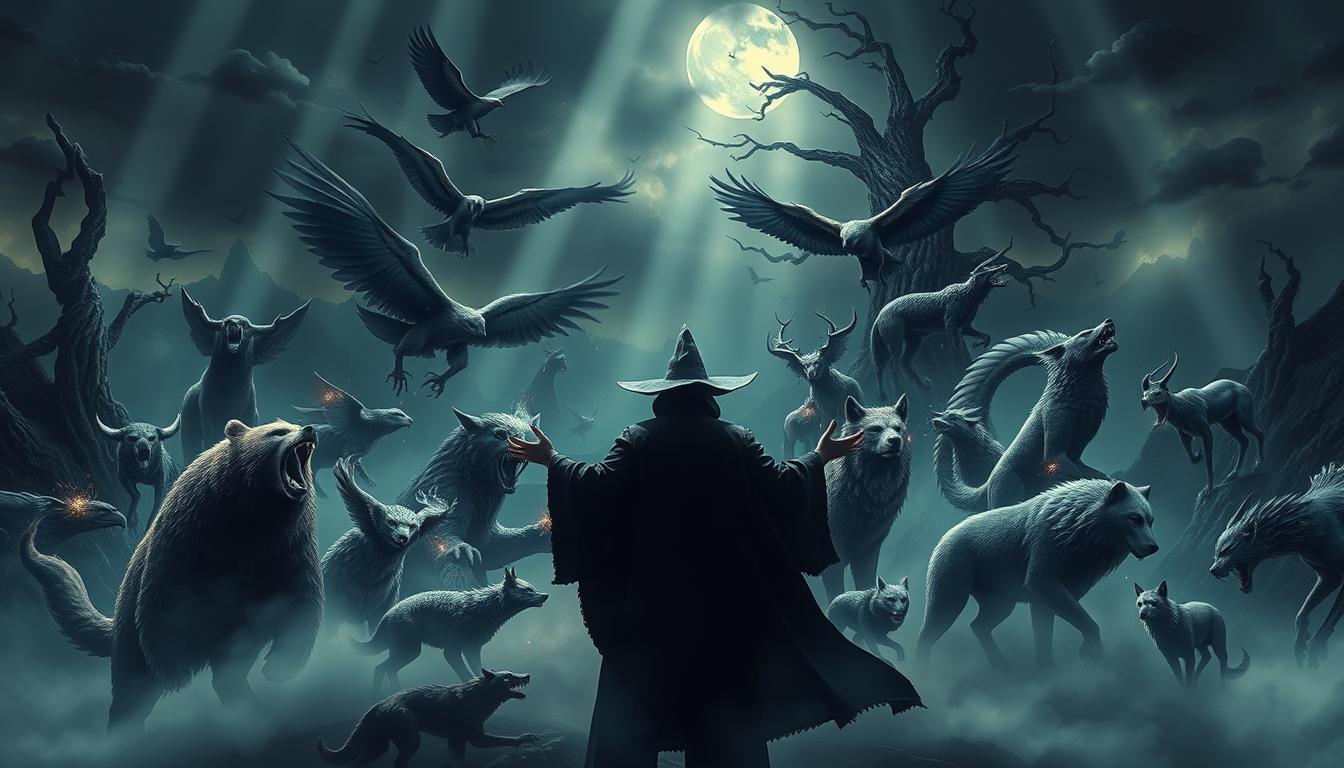
Conjure Animals 5e: Unleash Epic Beasts in Your D&D Game
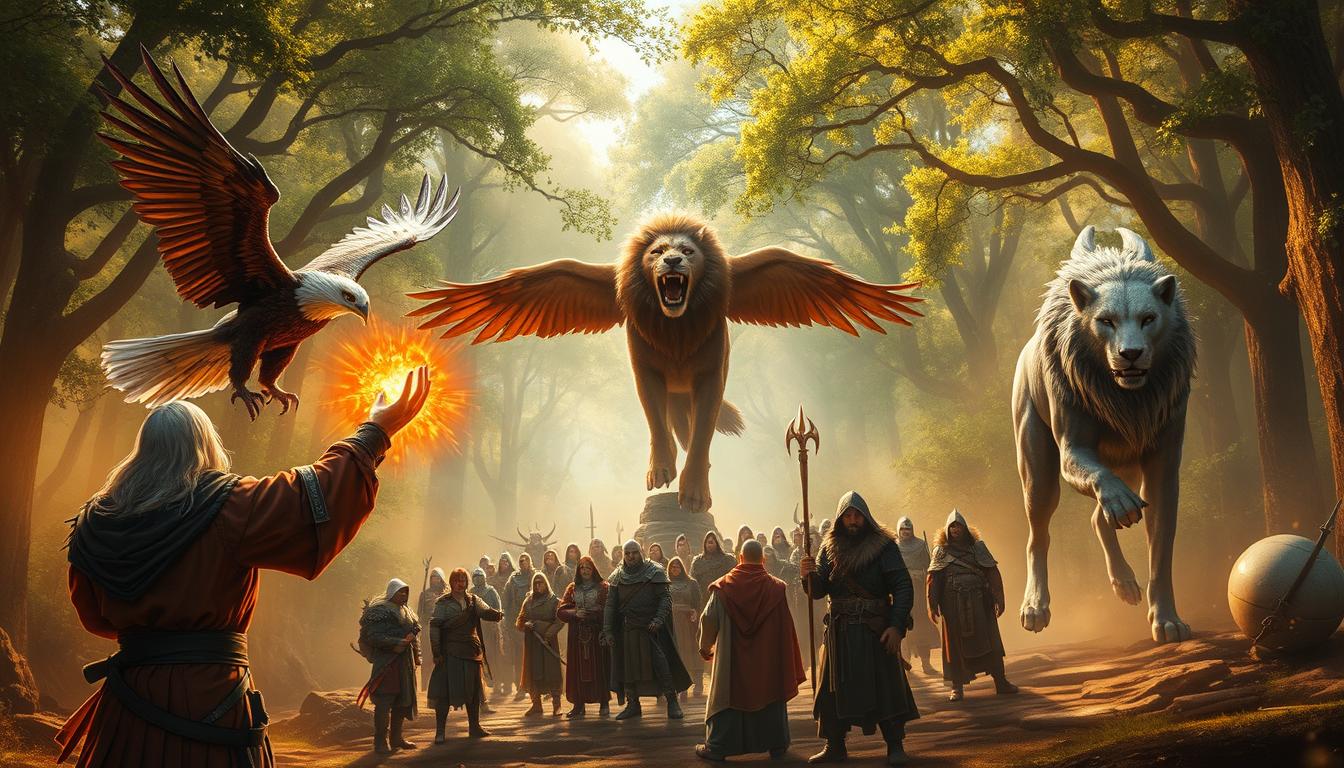
When I first discovered this spell, it completely changed how I approached my Dungeons & Dragons sessions. Whether you’re a druid, ranger, or bard, this ability opens up a world of possibilities. It’s not just about summoning creatures; it’s about transforming the way you play.
Imagine having a pack of wolves at your command or a flock of eagles scouting ahead. The versatility of this spell is unmatched. It shines in combat, but it’s equally useful for exploration and tactical maneuvers. Combining it with terrain or other spells can create unforgettable moments in your game.

However, it’s not without its challenges. Dungeon Masters often face the “minion overload” issue when players summon too many creatures. But with the right strategies, this spell can elevate your game to new heights. In this guide, I’ll break down the best creatures to summon and share tips to optimize your gameplay.
Key Takeaways
- This spell is a game-changer for druids, rangers, and bards.
- It excels in combat, scouting, and tactical play.
- Advanced strategies include combining it with terrain or other spells.
- DMs should prepare for the “minion overload” challenge.
- Detailed creature breakdowns and optimization tips are included.
What is Conjure Animals 5e?
Few abilities in D&D offer the same level of flexibility as this one. It’s a 3rd-level spell that lets you summon beasts to aid you in battle, exploration, or even tactical maneuvers. The creatures you summon aren’t just ordinary beasts—they’re fey spirits taking on the form of beasts with Challenge Ratings (CR) ranging from 1/4 to 2. This makes it a powerful tool for players who want to add depth to their gameplay.
Compared to spells like Conjure Minor Elementals, this one is more slot-efficient. It scales beautifully, starting with 8 creatures and doubling to 16 at higher levels. The spell lasts for 1 hour, but it requires concentration, so you’ll need to be careful about maintaining it during combat.
An Overview of the Spell
This spell is all about versatility. Whether you need a pack of wolves to flank your enemies or a flock of eagles to scout ahead, it’s got you covered. The creatures you summon act on your turn, giving you full control over their actions. This makes it a favorite among players who enjoy strategic gameplay.
Who Can Cast Conjure Animals?
Druids and rangers are the primary classes that can cast this spell. However, bards can also access it through their Magical Secrets feature, especially Lore Bards. It’s a 3rd-level spell, so you’ll need to be at least a 5th-level caster to use it. The spell’s scaling means it remains useful even at higher levels, making it a staple for many characters.
- Summons CR 1/4 to CR 2 beasts as fey spirits.
- More slot-efficient than Conjure Minor Elementals.
- Available to druids, rangers, and bards (via Magical Secrets).
- Scales from 8 to 16 creatures at higher levels.
- Requires concentration and lasts for 1 hour.
How Does Conjure Animals Work?
Mastering this spell requires understanding its mechanics and limitations. It’s not just about summoning creatures; it’s about using them effectively. Let’s break down how it works.
Casting Time and Duration
Casting time is 1 action, making it quick to use in combat. The spell lasts for 1 hour, but it requires concentration. This means you’ll need to stay focused to keep the creatures active.
Range and Components
The range is 60 feet, so positioning is key. You’ll need verbal and somatic components to cast it. Use verbal actions to guide your summoned creatures or let them follow default behaviors.
Concentration and Higher-Level Slots
Concentration is a risk. If you take damage, you might lose the spell. At higher levels, it scales beautifully. A 3rd-level slot summons 8 creatures, while a 5th-level slot doubles that to 16.
| Slot Level | Number of Creatures |
| 3rd | 8 |
| 5th | 16 |
When using a 5th level spell, the increased number of creatures can overwhelm enemies. However, managing them can be tricky. Always plan ahead to avoid concentration-break scenarios.
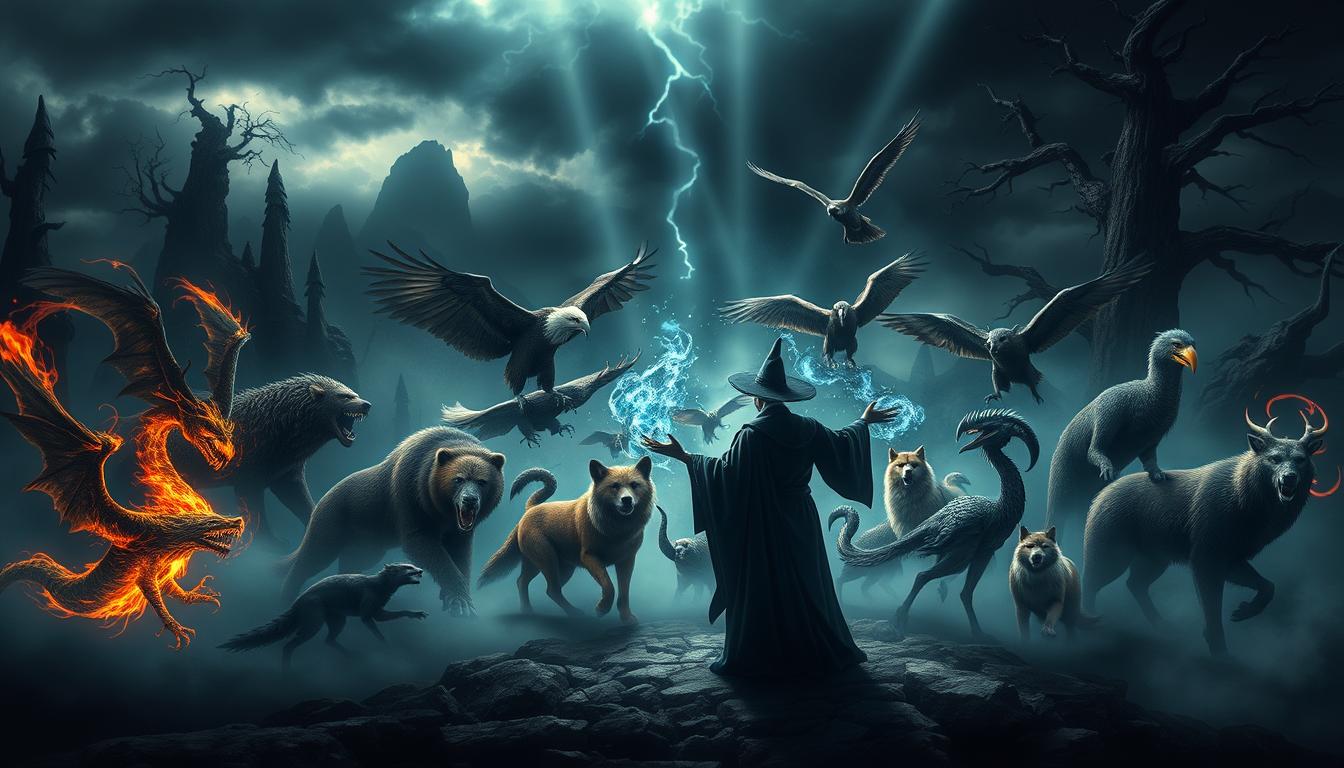
Choosing the Right Creatures
Selecting the right creatures can make or break your strategy in D&D. The creatures you summon play a crucial role in determining the outcome of battles, exploration, and tactical maneuvers. Understanding their strengths and weaknesses is essential for maximizing their potential.
Understanding Challenge Ratings
Challenge Ratings (CR) are a key factor in choosing your summons. Lower CR options, like wolves or giant owls, allow you to summon more creatures, giving you an edge in action economy. Higher CR options, while fewer in number, pack more damage and have better hit points.
Here’s the tradeoff: quantity vs. individual power. Multiple weaker units can overwhelm enemies, while fewer stronger units can deal significant damage but are easier to target. It’s all about balancing your strategy.
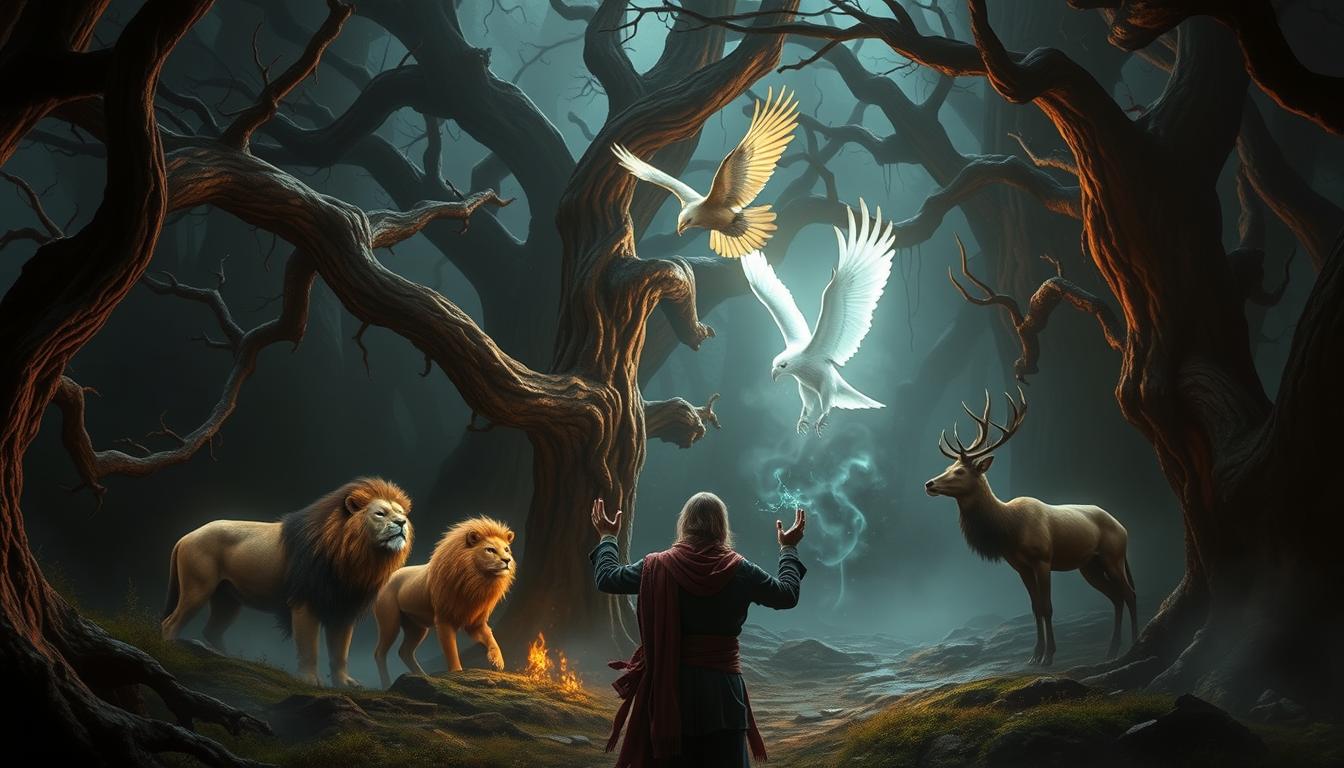
Best Creatures to Summon
When it comes to CR 1/4 options, these are my top picks:
- Wolves: Great for flanking and pack tactics.
- Giant Owls: Perfect for scouting and aerial attacks.
- Giant Wolf Spiders: Ideal for stealth and poison damage.
- Pythons: Excellent for restraining enemies.
- King Cobras: High damage output with poison.
For aquatic or underground battles, consider creatures like octopuses or giant centipedes. These situational picks can give you an edge in specific environments.
Ultimately, your choice depends on your party’s needs and the challenges you face. Experiment with different combinations to find what works best for you.
Wolves: The Classic Choice
Wolves have always been a staple in my D&D strategies, and for good reason. Their combination of teamwork and raw power makes them a reliable choice for any situation. With 11 HP, AC 13, and a +4 attack roll, they’re durable enough to hold their own in combat. But what really sets them apart is their ability to knock enemies prone, giving your allies a significant advantage.
Stats and Abilities
Wolves are more than just numbers on a sheet. Their Pack Tactics ability grants them advantage on attack rolls when an ally is within 5 feet of the target. This makes them excellent at flanking enemies and creating openings for your team. With an average damage of 7 per hit and the chance to knock enemies prone, they’re a force to be reckoned with.
Strategic Uses in Combat
In combat, wolves shine when used strategically. Their prone effect can turn the tide of battle, especially when paired with melee allies who gain advantage on their attacks. Positioning is key—place your wolves to maximize opportunity attacks and control the battlefield. Against an AC 15 target, a pack of wolves can deal an average of 28 damage per round, making them a cost-effective choice for lower CR slots.
For higher CR slots, consider Dire Wolves. They offer more HP and damage, but at the cost of fewer summons. Whether you choose wolves or Dire Wolves, their synergy with your party’s tactics will always make them a valuable addition to your arsenal.

Giant Owls: Death from Above
Giant Owls have become one of my favorite summons in D&D, offering unmatched versatility in both combat and exploration. Their ability to dominate the skies and move silently makes them a valuable asset in any campaign. Whether you need a scout or a combat ally, these creatures deliver.
Flying and Stealth Advantages
With a fly speed of 60 feet and a +4 Stealth bonus, Giant Owls excel in both mobility and subtlety. Their 120-foot darkvision allows them to navigate even the darkest environments. These traits make them perfect for scouting missions or ambushes.
Their 19 hit points and Strength of 13 give them decent durability and the ability to grapple or shove enemies with a +8 modifier. This makes them surprisingly effective in combat, especially when used creatively.
Using Owls for Scouting and Combat
Giant Owls shine in two key areas: scouting and combat. Their aerial perspective lets them gather intel from above, while their stealth ensures they remain undetected. In combat, their ability to lift and drop enemies can be devastating.
Here’s a breakdown of their damage potential:
| Tactic | Damage |
| Straight Attack | 1d6 + 1 (average 4.5) |
| Lift and Drop | 6d6 fall damage (average 21) |
Using them as a screen against ranged enemies can also protect your party. Their Intelligence of 8 means they can follow simple commands, making them easy to manage in battle.
Giant Owls are more than just summons—they’re strategic tools that can turn the tide of any encounter.
Giant Wolf Spiders: Sneaky Webwalkers
One of the most underrated summons in D&D is the Giant Wolf Spider, and it’s time to give it the spotlight it deserves. These creatures bring a unique mix of stealth and deadly precision to the battlefield, making them a versatile ally in any campaign.
Poison and Stealth Tactics
With a +7 stealth bonus and Blindsight, Giant Wolf Spiders excel in ambush tactics. They can move silently through low-light environments, making them perfect for surprise attacks. Their poison bite deals 4+7 damage (DC 11 CON save), which can quickly whittle down low-CON foes.
In combat, their ability to move across webs without restraint gives them a tactical edge. While they can’t restrain enemies with webs, their mobility ensures they’re always in the right position to strike.
Combining with Fog Cloud or Darkness
Pairing Giant Wolf Spiders with spells like Fog Cloud or Darkness can create chaos for your enemies. Their Blindsight allows them to navigate these obscured areas with ease, while enemies struggle to fight back. This synergy is especially powerful when combined with a Warlock’s Devil’s Sight, granting your party a significant advantage.
For rogue multiclass characters, these spiders make excellent scouting partners. Their stealth and mobility complement a rogue’s sneak attacks, creating a deadly combo that’s hard to counter.
Pythons: The Constrictors
Pythons have always been a go-to choice for me when I need to control the battlefield. Their ability to restrain enemies makes them a powerful tool in any encounter. Whether you’re facing a single tough opponent or a group of weaker foes, pythons can turn the tide in your favor.
Restraining Enemies
One of the most effective features of pythons is their ability to restrain enemies on a hit. The restrained condition is a game-changer in combat. It reduces the target’s speed to 0, gives them disadvantage on attack rolls, and grants advantage to attackers. This makes pythons a perfect choice for controlling high-priority targets.
Compared to wolves’ prone effect, restraining is more versatile. While prone only affects melee attackers, restrained works against both melee and ranged enemies. This makes pythons a better choice when your party includes ranged allies who can capitalize on the advantage.
Advantages in Water and Darkness
Pythons excel in aquatic environments thanks to their 30-foot swim speed. If your campaign involves underwater battles or coastal settings, they’re an excellent pick. Their ability to move freely in water gives them an edge over land-based summons.
In dark environments, pythons’ blindsight ensures they’re not hindered by lack of light. This makes them ideal for campaigns in the Underdark or other shadowy areas. Pair them with spells like Darkness or Fog Cloud to create chaos for your enemies while your pythons strike with precision.
- Restrained Condition: Reduces speed, grants advantage to attackers, and gives disadvantage to the target.
- Aquatic Battles: 30-foot swim speed makes them perfect for water-based encounters.
- Darkness Synergy: Blindsight allows them to operate effectively in low-light or obscured areas.
- Ranged Ally Support: Restrained enemies are easier targets for ranged party members.
- Underdark Campaigns: Their blindsight and stealth make them a top choice for underground adventures.
Pythons are more than just summons—they’re strategic tools that can adapt to any situation. Whether you’re in a swamp, a dungeon, or an open battlefield, they’ll help you dominate the encounter.
King Cobras: The Poisonous Predators
King Cobras are a force to be reckoned with in any D&D campaign. Their combination of high damage and deadly poison makes them a top choice for players who want to dominate the battlefield. With a +6 attack roll and 6+10 poison damage, they’re among the most powerful CR 1/4 creatures available.
What sets King Cobras apart is their AC 14, the highest among CR 1/4 summons. This makes them surprisingly durable, especially when paired with strategic positioning. Their poison damage can quickly overwhelm enemies, even those with high AC.
High Damage Output
When it comes to dealing damage, King Cobras are unmatched. Their poison attack averages 16 damage per hit, making them a reliable choice for taking down tough opponents. Against high-AC targets, their consistent damage output ensures they remain effective.
Here’s a quick comparison of their damage potential:
| Target AC | Average DPR |
| 15 | 12.8 |
| 18 | 9.6 |
Using Cobras in Poison-Focused Strategies
King Cobras shine in poison-focused strategies, but they’re not without their challenges. Some enemies are immune to poison, so it’s important to have a backup plan. Pairing them with spells like Darkness can create opportunities for your party to exploit.
Here are a few tips for maximizing their potential:
- Use Darkness to obscure vision and give your cobras an edge.
- Be mindful of DM rulings on poison resistance or immunity.
- Compare their damage output to Animate Objects for versatility.
King Cobras are more than just summons—they’re a strategic tool that can turn the tide of any encounter. Whether you’re facing a single tough opponent or a group of weaker foes, they’ll help you dominate the battlefield.
Maximizing Conjure Animals with Inspiring Leader
One of the most underrated ways to enhance your summons is by combining them with the Inspiring Leader feat. This feat allows you to give your allies—and your summoned creatures—temporary hit points, making them more durable in combat. It’s a simple yet powerful way to level up your strategy.
Boosting Minion HP
At higher levels, the benefits of Inspiring Leader become even more impressive. For example, a 20th-level character can grant 704 total temporary hit points to 16 summoned owls. This can turn your minions into a nearly unstoppable force. Here’s how the numbers break down:
- Level 5: +5 HP per creature (40 total for 8 summons).
- Level 10: +10 HP per creature (160 total for 16 summons).
- Level 20: +22 HP per creature (704 total for 16 summons).
This boost can make even weaker summons like spiders or wolves significantly more effective. For example, boosted spiders can outlast base wolves in prolonged battles.
Pre-Battle Pep Talks
To use Inspiring Leader effectively, plan a 30-minute speech before entering a dungeon or major encounter. This ensures your summons start the battle with extra durability. If you’re playing a Great Old One Warlock, you can even use telepathy to command your creatures more efficiently.
However, be mindful of table time management. While Inspiring Leader is powerful, lengthy rituals can slow down gameplay. Communicate with your DM to ensure everyone stays engaged.
By combining Inspiring Leader with your summons, you’ll create a strategy that’s both effective and memorable. Whether you’re facing a dungeon crawl or a boss battle, this feat will give you the edge you need.
Conjure Animals vs. Animate Objects
Deciding between these two spells can feel like choosing between a hammer and a scalpel—each has its unique strengths. Both are fantastic options for summoning allies, but they excel in different scenarios. Understanding their differences can help you make the right choice for your campaign.
Comparing Damage and Utility
When it comes to damage, Animate Objects is hard to beat. It creates 10 objects, each with a +8 attack roll and 6.5 average damage. That’s a potential 65 damage per round, not counting critical hits. On the other hand, Conjure Animals offers versatility with creatures that can flank, scout, or restrain enemies.
Here’s a quick comparison of their damage potential:
| Spell | Number of Attacks | Average Damage per Round |
| Animate Objects | 10 | 65 |
| Conjure Animals (8 Wolves) | 8 | 56 |
However, Conjure Animals has an edge in utility. Wolves can knock enemies prone, while owls can scout or lift enemies. Animate Objects, while powerful, lacks this tactical flexibility.
When to Use Each Spell
Animate Objects is perfect for high-damage output in short bursts. It’s ideal for boss fights or encounters where you need to overwhelm enemies quickly. However, it’s less effective against foes with magic resistance, as the objects are mundane.
Conjure Animals, on the other hand, shines in longer encounters or when you need versatility. It’s also more slot-efficient at lower levels. For example, at 5th level, you can summon 16 creatures, doubling your action economy.
Here are some scenarios where each spell excels:
- Animate Objects: Boss fights, tight spaces, or when you need raw damage.
- Conjure Animals: Exploration, tactical battles, or when you need utility.
Combining both spells can create devastating synergies. For example, use Animate Objects to deal damage while Conjure Animals controls the battlefield. Just be mindful of material components—Animate Objects requires small objects, while Conjure Animals needs no components.
Ultimately, the choice depends on your party’s needs and the challenges you face. Experiment with both to find what works best for your playstyle.
Handling Conjure Animals as a DM
As a DM, managing this spell can be both rewarding and challenging. It’s a powerful tool that can dramatically shift the dynamics of any encounter. However, it’s crucial to balance its impact to ensure the game remains fun for everyone.
Balancing the Spell
One of the main challenges is ensuring the spell doesn’t overwhelm the game. For example, 8 wolves can deal 39 damage per round at level 3. This can quickly turn the tide in favor of the players, making encounters feel unbalanced.
To counter this, consider adjusting enemy tactics. Use area-of-effect (AoE) abilities to handle multiple minions efficiently. This not only levels the playing field but also adds a layer of strategy for the players to consider.
Dealing with Minion Overload
Minion overload is a common issue when players summon too many creatures. It can slow down combat and make it harder for the DM to manage the flow of the game.
Here are some solutions to handle this:
- Initiative Grouping: Group similar creatures together in the initiative order to streamline turns.
- Minion Squad Template: Use simplified stat blocks for summoned creatures to speed up gameplay.
- Summoner Hiding Tactics: Encourage players to position their summoner strategically, adding depth to the encounter.
- CR-Appropriate Adjustments: Adjust enemy numbers or stats to match the increased action economy from summons.
By implementing these strategies, you can maintain a balanced and enjoyable game for everyone at the table.
Countering Conjure Animals
Understanding how to counter this spell can turn the tide in any encounter. Whether you’re a player or a DM, knowing the right strategies can neutralize even the most overwhelming summons. Breaking concentration is often the key to dismantling this spell’s effectiveness.
Strategies for Players
Players can use several tactics to counter this spell. One effective method is to target the caster’s concentration. Barbarians, for example, can use Dodge or Rage to reduce incoming damage, cutting it to 12-13 per round. This makes it harder for the caster to maintain focus.
Monks and Rogues can use their mobility to flank the caster, forcing them into a defensive position. Heat Metal is another great option, especially against armored druids. The spell deals consistent damage and imposes disadvantage on ability checks, making it harder to maintain concentration.
How to Break Concentration
Breaking concentration requires understanding the DC calculations. The DC is typically 10 or half the damage taken, whichever is higher. Here’s a quick breakdown:
| Damage Taken | Concentration DC |
| 10 | 10 |
| 22 | 11 |
Counterspell is another powerful tool. Timing is crucial—cast it as soon as the spell is being cast to prevent the summons altogether. Antimagic fields can also neutralize the spell entirely, though they require careful positioning.
By combining these strategies, players can effectively counter this spell and regain control of the battlefield.
Advanced Tactics with Conjure Animals
Exploring advanced strategies can elevate your gameplay to new heights. By combining creativity with the right tactics, you can turn even the simplest summons into a game-changing force. Whether you’re using terrain to your advantage or pairing summons with other spells, these techniques will help you dominate the battlefield.
Using Terrain to Your Advantage
Terrain plays a crucial role in maximizing your summons’ effectiveness. For example, pythons can be used to funnel enemies through chokepoints, making it easier to control the flow of battle. Similarly, owls can dominate aerial spaces, dropping enemies from above or scouting ahead.
Another great tactic is using web+spider ambush setups. Giant Wolf Spiders can move silently through low-light environments, making them perfect for surprise attacks. Pair them with spells like Darkness or Fog Cloud to create chaos for your enemies.
Combining with Other Spells
Pairing your summons with other spells can create powerful synergies. For instance, Spike Growth can turn the battlefield into a deadly trap, while Glyph of Warding can prepare your summons for specific scenarios. Here are some combinations to try:
- Wolf Spiders + Darkness: Use Blindsight to navigate obscured areas while enemies struggle.
- Owls + Fly: Dominate aerial spaces and drop enemies from above.
- Constrictors + Chokepoints: Funnel enemies into tight spaces for maximum control.
By experimenting with these combinations, you’ll discover new ways to outmaneuver your opponents and create unforgettable moments in your game.
Conjure Animals in Different Campaigns
The versatility of summons can transform any campaign, whether in a bustling city or a dense forest. Each setting brings unique challenges, and your choice of creatures can make or break your strategy. Let’s explore how to adapt your summons to urban and wilderness environments, as well as how to counter different types of enemies.
Urban vs. Wilderness Settings
In urban settings, stealth and subtlety are key. Creatures like spiders and owls excel here, blending into the shadows and avoiding unwanted attention. Wolves, while powerful, can draw too much notice from city guards or bystanders. Spiders can navigate tight spaces, while owls provide aerial reconnaissance, making them ideal for urban missions.
In wilderness settings, mobility and adaptability take center stage. Wolves and pythons thrive in open areas, using their speed and strength to dominate the battlefield. Owls can scout from above, while spiders use their stealth to ambush unsuspecting foes. The right summons can turn the wilderness into your playground.
Adapting to Different Enemies
Different enemies require different strategies. For undead or constructs, creatures with blindsight or poison attacks are invaluable. In naval combat, pythons’ swim speed gives them an edge, while spiders’ stealth makes them perfect for Underdark campaigns. Celestial enemies often resist certain attacks, so choose creatures with versatile abilities.
Here’s a quick guide to countering specific enemy types:
| Enemy Type | Best Summons |
| Undead/Constructs | Giant Wolf Spiders, King Cobras |
| Naval Combat | Pythons, Octopuses |
| Underdark | Spiders, Pythons |
| Celestial | Owls, Wolves |
By tailoring your summons to the game setting and your enemies, you can maximize their effectiveness. Whether you’re navigating a city’s alleys or a forest’s trails, the right movement and strategy will ensure your summons shine.
Common Mistakes When Using Conjure Animals
Even experienced players can stumble when using this powerful spell, especially if they overlook key details. Whether it’s forgetting concentration checks or choosing the wrong creatures, these errors can significantly impact your gameplay. Let’s break down the most common pitfalls and how to avoid them.
Overlooking Concentration
One of the biggest mistakes is forgetting about concentration. This spell requires focus, and losing it means losing your summons. New players often underestimate how easily concentration can be broken, especially in the heat of battle.
Here’s a quick tip: Always position your caster strategically. Use cover or allies to reduce incoming damage. This simple action can make a huge difference in maintaining your spell.
Choosing the Wrong Creatures
Selecting the right creatures is crucial, but it’s easy to make mistakes here. Overestimating their intelligence or misjudging space requirements can lead to ineffective summons. For example, wolves are great for open areas but struggle in tight spaces.
Here are some common errors to avoid:
- Overestimating Intelligence: Summoned creatures aren’t geniuses. Keep commands simple and clear.
- Misjudging Space: Ensure there’s enough room for your summons to move and act effectively.
- Forgetting Verbal Commands: Remember, you need to issue commands verbally. Silence can render your summons useless.
- Ignoring Environment: Choose creatures suited to the terrain. Owls excel in the air, while spiders thrive in darkness.
- Underutilizing Non-Combat Uses: Don’t forget, summons can scout, carry items, or even create distractions.
By avoiding these mistakes, you’ll get the most out of this spell and keep your gameplay smooth and effective.
Conclusion: Mastering Conjure Animals 5e
Mastering the art of summoning can truly elevate your gameplay experience. By focusing on key optimization points, you can maximize the potential of your summons. Experiment with different builds to find what works best for your playstyle.
It’s essential for DMs and players to discuss balance openly. This ensures everyone enjoys the game without feeling overwhelmed. As you progress, consider exploring higher-level summons for even more strategic depth.
Remember, the journey to becoming an epic beastmaster is filled with unforgettable moments. Embrace the challenge, and let your creativity shine in every encounter.