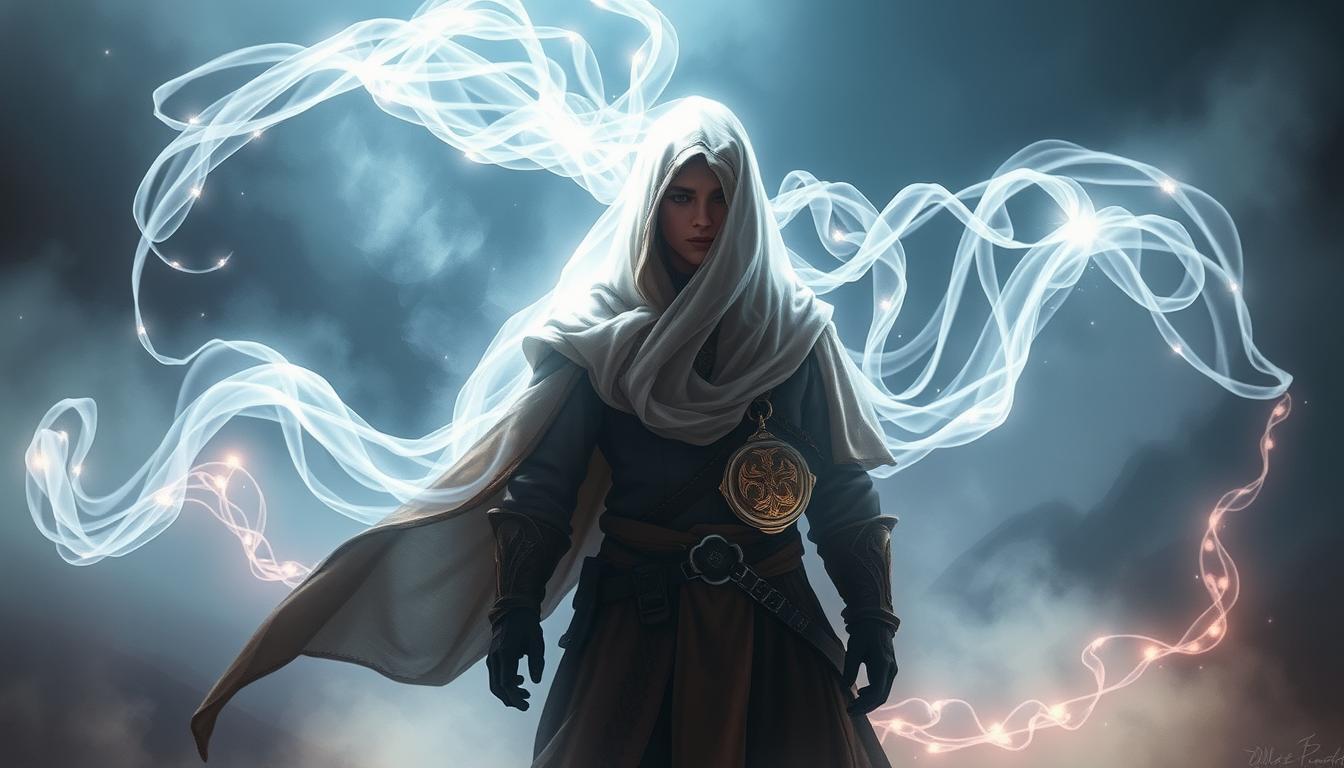
Spirit Shroud 5e Explained: My Insights and Rules
Can a caster trade ten minutes of area control for meatier, close‑range damage and feel better about the choice?
I wrote this guide from my table experience so you can judge the spell fast. I explain how the 3rd‑level option from Tasha’s Cauldron of Everything adds steady extra damage, denies healing, and forces you to live within 10 feet of enemies to get full value.
The core promise is simple: more consistent damage to hits and a slow that can ruin enemy plans. I call out the highs and lows up front so you know when the shroud shines and when it folds against kiting foes.
Expect clear rules notes, real damage math, and tactical tips on staying in range without asking your party to babysit you. If you want the short version on when this spell earns a slot, you’ll find it right away.
Key Takeaways
- The spell is a 3rd‑level option from Tasha’s Cauldron of Everything that boosts attacks for up to 1 minute.
- It adds steady bonus damage and blocks healing for creatures within feet of you, plus reduces their speed.
- You must stay inside the 10‑foot leash to get reliable damage; positioning matters more than usual.
- It trades area control and long duration for higher personal DPR when you can close with foes.
- I focus on table realities, not just theory—kiting and party makeup often decide its value.
Why I Care About Spirit Shroud Right Now
I wanted a no-nonsense answer: does this spell outdamage my usual options in real combat?
I tested three questions at my table: how much extra damage does it add, how often can I stay within the aura, and whether it beats broader control spells like spirit guardians.
What you’ll learn here is practical. I show how I plan attacks, why I check attack rolls versus expected hits, and when an extra attack build gets the most value.

I measure success by damage per round and damage per spell slot across a typical encounter, not a single nova. I also flag anti-synergies: long range, push effects, and enemies that can ignore the aura.
- Which classes beat control with raw damage.
- How many attacks you need for the math to favor this spell.
- A quick heuristic for choosing more damage or safer control when terrain is unknown.
| Option | Strength | Weakness |
|---|---|---|
| spirit shroud | Consistent personal damage | Short radius, melee commitment |
| Spirit Guardians | Area control | Less single-target DPR |
| Bless / Hex | Buffs to hit or damage over time | Lower upfront burst |
Spirit Shroud 5e
Here’s a tight rules snapshot I rely on when I decide to cast this aura.
Quick rules summary from Tasha’s Cauldron of Everything
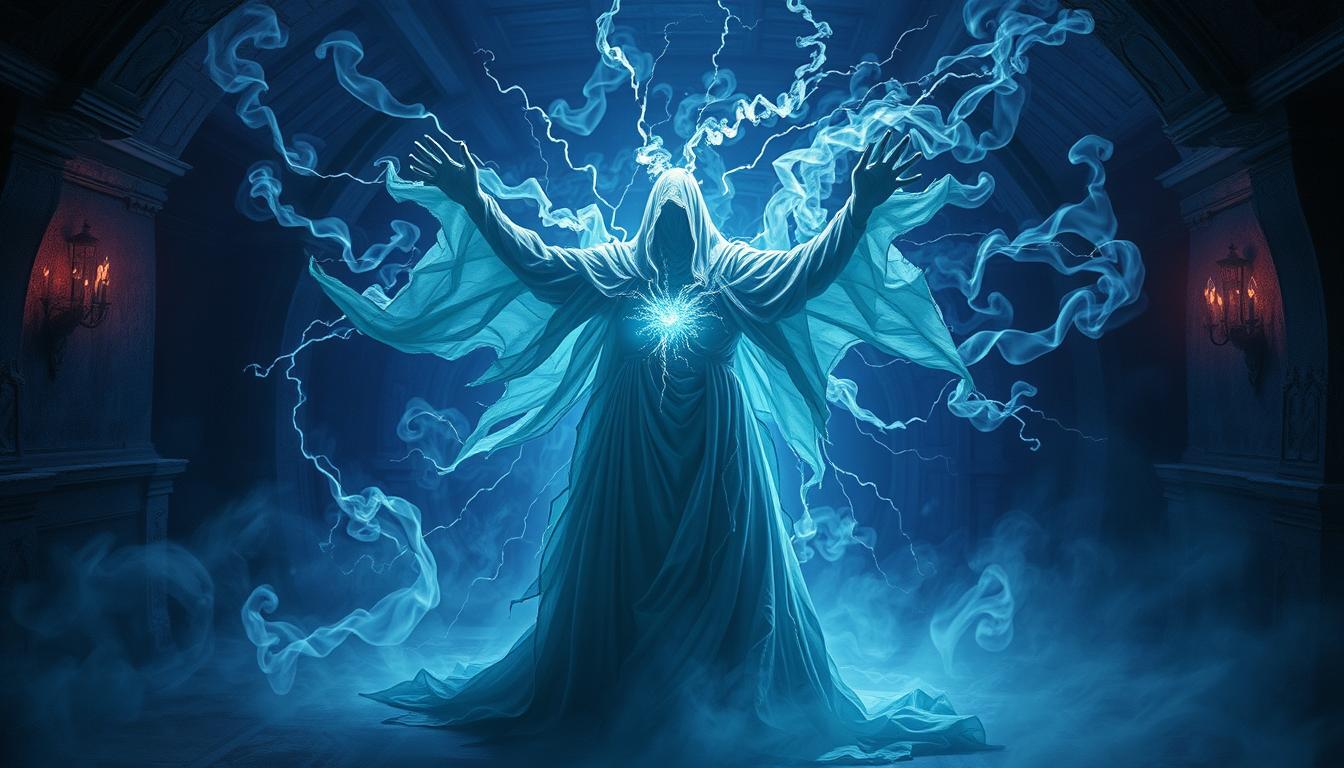
Casting basics: The spell is a bonus action with range: self. It creates a 10-foot aura for up to one minute while you maintain concentration.
You choose radiant damage, necrotic, or cold. When you hit a creature within 10 feet, you deal an extra 1d8 damage of the chosen type.

Mechanics that matter
- Components: V, S. Duration: concentration up to 1 minute.
- Riders: creatures that start their turn inside lose 10 feet of speed.
- Healing prevention: a creature you hit can’t regain hit points until the start of your next turn.
- Upcasting: +1d8 per two slot levels (2d8 at 5th, 3d8 at 7th, 4d8 at 9th).
| Feature | Effect | Why it matters |
|---|---|---|
| Bonus action cast | Start on your turn | Leaves your action free for attacks or a spell |
| 10-foot aura | Extra 1d8 on a hit within feet | Forces melee range or careful positioning |
| Concentration | Up to 1 minute | Must protect concentration to farm value |
| Classes | Cleric, Paladin, Warlock, Wizard | Different roles, different slot budgets |
How the Spell Works in Play
Put simply: if I can stay in range, each hit routinely adds useful damage and punishes mid‑fight heals.
Every time I hit a creature within 10 feet, I add an extra 1d8 damage of my chosen type — radiant damage, necrotic, or cold. That extra 1d8 applies on the hit, so landing attacks matters more than ever.
When I hit, the target can’t regain hit points until the start of my next turn. That block is huge versus enemies that use mid‑fight healing or healing potions.
Creatures that start their turn inside the aura lose 10 feet of speed. That slow rarely locks foes down, but it buys me angles and rewards smart positioning.
- Upcasting: you get an additional 1d8 per two slot levels; I rarely burn high slots unless I’ll stick to a target.
- Tempo: casting is a bonus action, so I decide whether to cast early or accept the opening turn cost.
- Concentration: I protect it with shields, positioning, or short teleports to keep the effect live.
| Effect | In play | Why it matters |
|---|---|---|
| Extra damage | +1d8 on a hit (type chosen) | Raises consistent DPR on melee targets |
| Healing denial | Target can’t regain hit points until my next turn | Stops mid‑fight recovery and potions |
| Speed rider | Creatures lose 10 feet starting in aura | Soft control that shapes movement |
| Upcast rate | +1d8 per two slot levels | Higher slots only when sticking power exists |
Damage, Dice, and DPR: My Practical Breakdown
I break down the math so you can see when the extra damage actually changes the fight.
Rules note: the rider applies only to attacks that require an attack roll and hit a creature within feet of you. Auto‑hit effects like magic missile aren’t attacks, so they don’t get the 1d8 damage bonus.
I map three common turn types to show how value scales. If you land one hit per turn, the spell nets modest extra DPR. Two hits make the spell worth a 3rd‑level slot more often. At three attacks, the benefit becomes obvious if you can stay within range.
Attack rolls vs. auto‑hits
Only hits from attack rolls trigger the 1d8 damage. That steers my turn order toward high‑probability attacks first and saves auto‑hit spells for when I can’t close.
Choosing damage type
I pick radiant against undead or healing foes, cold for general reliability, and necrotic when I know resistances won’t block the effect. The type matters when enemies have resistances or regen.
- Eldritch Blast: can technically benefit at point‑blank, but ranged blasts often lose value versus staying at melee range.
- Shadow Blade: shines in dim corridors—advantage and psychic DPR sometimes beat the aura plan.
- Quick rule: if I can’t land two attacks per round over several rounds, I usually skip casting.
| Attacks/turn | Extra DPR (avg) | When it pays |
|---|---|---|
| 1 | ~4.5 | Only vs slow, never‑kiting targets |
| 2 | ~9 | Common sweet spot for value |
| 3 | ~13.5 | High‑attack builds love it |
In short: watch hit chance, attack rolls per turn, and whether the target will stay within feet. That checklist tells me fast if I should cast the spell or save the slot.
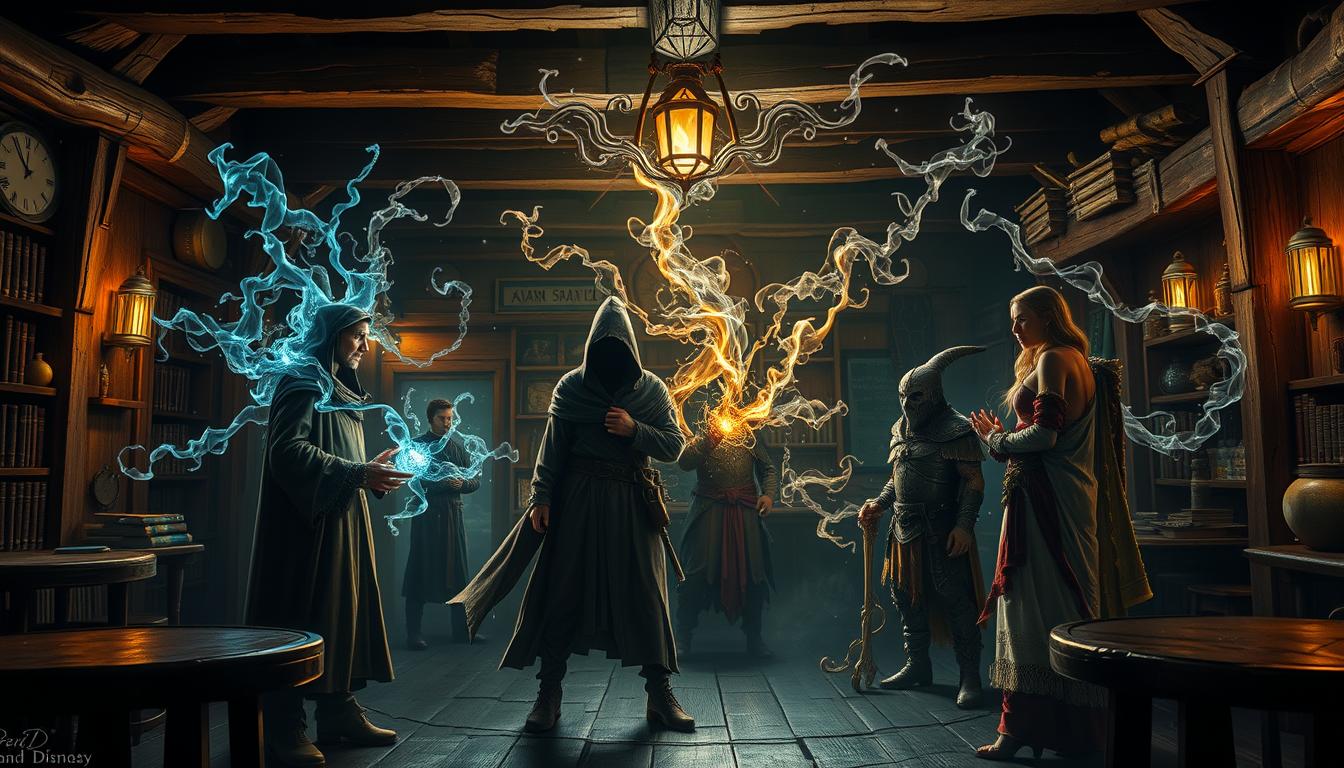
Who Actually Uses It Best? Class-by-Class Insights
I ran this through my usual class checklist so you can see who gets real value versus who should skip it.
Cleric: For clerics, spirit guardians usually wins. Its 15-foot area, halved speed, and multi-target 3d8 damage every turn make it a superior control and slot economy pick for most cleric builds. The 10-minute duration also lets clerics chain fights without reburning a spell slot.
Paladin: Paladins trade off. Extra attack plus the aura’s 1d8 damage can stack nicely, but Bless and Divine Smite often beat sustained damage in a single decisive turn. I cast the aura when I expect multiple turns of melee and my team doesn’t need immediate front-loaded burst.
Warlock: Hexblade dreams meet reality. Melee commitment fights with ranged plans like eldritch blast and Repelling Blast. I only pick the aura on Hexblade builds that can stick to targets or when summon options aren’t available.
Wizard / Bladesinger: Bladesingers can use the aura in tight corridors, especially with Devil’s Sight + darkness for advantage. Still, shadow blade often outperforms it on pure DPR, and high-level control or summons usually outclass this spell slot.
Eldritch Knight & Multiclass notes: The 4th-level slot ceiling limits scaling for EKs. Dipping cleric or warlock can unlock useful combos, but I prefer this spell on chassis that deliver multiple reliable hits per turn.
| Class | When I pick it | When I skip |
|---|---|---|
| Cleric | Rarely; favor guardians | When party needs AoE control |
| Paladin | Multi-turn melee fights | When a single smite ends the fight |
| Warlock | Hexblade sticky builds | Ranged eldritch blast plans |
| Bladesinger | Darkness/advantage setups | When summons or force spells serve better |
Synergies, Anti‑Synergies, and Combos I Trust
When I build a melee caster, I look first for reliable ways to stack more hits each turn.
I value features that turn one bonus into multiple procs. Extra Attack, off‑hand swings, and class traits that add more attacks are my go‑to friends. More attacks mean more consistent damage and better odds that each hit triggers the aura.
Not every combo helps. Repelling Blast or plans that push or kite work against me. If I shove or the enemy is forced beyond 10 feet, I lose procs and the slot looks weak.
I like simple supports: a Find Familiar giving Help, a PC that casts Web or Slow, or a grapple specialist. These make targets stick so my attacks keep landing.
- Action economy: cast as a bonus, then move and attack to maximize hits.
- Shadow Blade works in dim light, but it competes for concentration with the spell.
- Opportunity attacks and sentinel allies turn enemy movement into extra value.
| Type | Effect | Fix / Use |
|---|---|---|
| Multi‑attack | More procs per turn | Prioritize on‑turn sequencing |
| Repelling / long range | Pushes targets out of range | Avoid pushes or position with walls |
| Support combos | Web, Slow, Help make zone sticky | Coordinate with party for easy wins |
| Shadow Blade | High single‑target DPR, advantage | Use when dim light beats aura or when concentration conflict exists |
Positioning, Range, and “Within Feet” Tactics
Keeping close without getting kited is the single biggest play that makes the aura pay off. The 10‑foot proximity requirement forces me to think like a skirmisher and a chess player at once. I plan entries, exits, and how to punish movement so the extra damage keeps landing.
Living at 10 feet: sticking to targets without getting kited
I treat the 10‑foot zone as a leash. Diagonal steps and tight turns let me catch two enemies within feet without overexposing. Hallways and chokepoints are my best friends; stairs and doors can lock a target in place for a round or two.
Speed reduction helps when an enemy starts its turn inside the aura, but it rarely locks them down alone. I rely on allies to body‑block or crowd control to stop kiting.
Opportunity attacks, bonus action timing, and reaction tradeoffs
Enemies can dip in, attack, and leave. I use opportunity attacks to punish exits, but I balance that against keeping a reaction for Shield or other saves. Sometimes that shield saves my concentration; sometimes the OA’s extra damage locks a kill.
- I usually cast the spell as a bonus action before I close if initiative order allows; that avoids burning a round of value.
- Pick targets that won’t sprint out of range or that your team can hold. Chase the wrong enemy and you lose damage and team tempo.
- When the board turns, I back off and reposition rather than feed free hits—preserving concentration is often the smarter play.
| Tactic | Why it matters | Quick fix |
|---|---|---|
| Choke points | Force enemies to stay within feet | Use doors, stairs, or allied blocks |
| Opportunity attacks | Punish exits and add damage | Weigh vs reaction needs |
| Bonus action timing | Start the aura without wasting a turn | Cast before closing when safe |
| Target selection | Prevents chasing kiting foes | Choose slow or pinned enemies |
Quick checklist: safe entry, exit denial, reaction plan, and a next‑turn anchor. Run that in your head each round and the spell will reward you with steady extra damage and control.
Slot Economy and When I Actually Cast It
I pick spells by slot value, not by flair, and this one earns a cast only when the math and the board line up.
I greenlight the 3rd-level cast when I expect to land multiple attacks across several turns. If I can hit more than once per turn for two or three rounds, the extra damage and the hit points denial pay for the slot.
Spell slot tiers: when a 3rd-level slot is worth the extra 1d8
At low slot tiers the scaling is modest: the spell gets +1d8 per two slot levels. I rarely upcast beyond the baseline unless I know I’ll stick to a target or I lack better control options.
Higher-level slots often buy stronger control or summons. So I save those for forcecage-level effects, big summons, or long-duration options that outvalue marginal dice bumps.
Comparing alternatives
Spirit guardians beats this option for clerics in many fights—long duration, multi-target damage, and no reliance on an attack roll make it superior for control and slot economy.
Bless can outpace my personal damage when three allies land more hits; a party-wide boost to attacks or saves often shifts DPR faster than one caster’s extra dice.
Hex competes directly for concentration. I prefer Hex when a ranged plan hits more often. I pick the aura when I purposely fight within ten feet for steady bonus damage.
Summon Fey wins on staying power and utility. If I need a body to block or control, I summon. I cast the aura when I need a short, high-impact minute of extra damage instead.
Shadowspawn is better for raw control—its bigger slow and fear can secure kills for the party. I weigh that against my desire for personal DPR spikes.
- I cast when the encounter length, party comp, and enemy types favor sustained melee pressure.
- I hold the cast if the board screams “control now, damage later.”
- Decision tree: party support available? enemies likely to kite? encounter long? If yes, cast; if no, bank the slot.
| Option | Primary benefit | When I pick it |
|---|---|---|
| spirit shroud | Consistent extra damage, healing denial | Sticky melee fights, multiple attacks/turn |
| Spirit Guardians | AoE control, long duration | Cleric casting for sustained encounters |
| Bless | Party to-hit and save boosts | When allies trade more hits than I do |
| Hex | Per-hit damage, targeted debuff | Ranged or single-target warlock plans |
| Summon Fey / Shadowspawn | Utility, crowd control, longer presence | When I need bodies or stronger slows/fear |
Edge Cases: Healing Prevention and Special Encounters
There are rare encounters where denying recovery is more decisive than stacking more damage.
“Regain hit points” denial vs. regeneration and mythic traits
I explain how the “can’t regain hit points” line works. If I hit a creature, it cannot regain hit points until my next turn. That blocks healing potions and most healing spells for one round.
Many monsters have regeneration that heals 10–20 HP per round. Against undead, I often pick radiant damage first because radiant commonly suppresses undead regen.
There’s an edge case with mythic traits. Older book wording sometimes let the denial stop phase transitions. Newer sources changed phrasing, so the trick is less universal now.
I time attacks to tag a target before its healer can act. If the enemy healer goes first, I hold a reaction or move to re-tag the target on my turn.
- I don’t pick the spell just for this trick unless the campaign telegraphs regen bosses.
- At close range, an eldritch blast user willing to stand in the pocket can still make the denial clutch.
- When denial isn’t guaranteed, I prefer control—stuns, banishes, or walls—to stop heals.
| Situation | My action | Why it works |
|---|---|---|
| Boss with regen | Tag then stay glued or pass to ally | Prevents steady HP recovery |
| Healer acts first | Hold reaction / re-tag | Re-applies denial before next turn |
| Uncertain wording (mythic) | Confirm ruling or use control | Book wording can change effect |
Quick close: these interactions are rare but high-value. When the table stacks focus fire, combining denial and finishing power wins fights faster than raw extra damage alone.
Conclusion
My final call is simple: this spell delivers steady per‑hit damage and a short heal denial that reward me for fighting inside ten feet.
It shines on extra attack chassis and melee casters who can survive the scrum. The 10‑foot speed cut and the temporary “can’t regain hit” effect are the real hooks.
I skip it when the party needs wider control, longer duration, or safe ranged plays. Spirit guardians, Bless, summons, or higher‑impact control often outvalue this slot at the same or higher level.